How to create your own custom frames in Canva
By Julia Sames | October 24, 2023
One of my all-time favorite tools in Canva is their frames. They’re so easy and fast to use, and as a writer with intermediate design skills, I’m all about that!
However, their options are often inconsistent or just not quite what I’m looking for.
Recently it occurred to me that I could probably create my own frames in Canva. Many of the tutorials out there necessitate a Microsoft Office account, which we don’t use. So I figured out how to pull it off using Google Slides.
I will say that when you do it this way you’re confined to Google’s shape options, but it still got me exactly what I needed, and I hope it will do the same for you!
Here’s what you need to do:
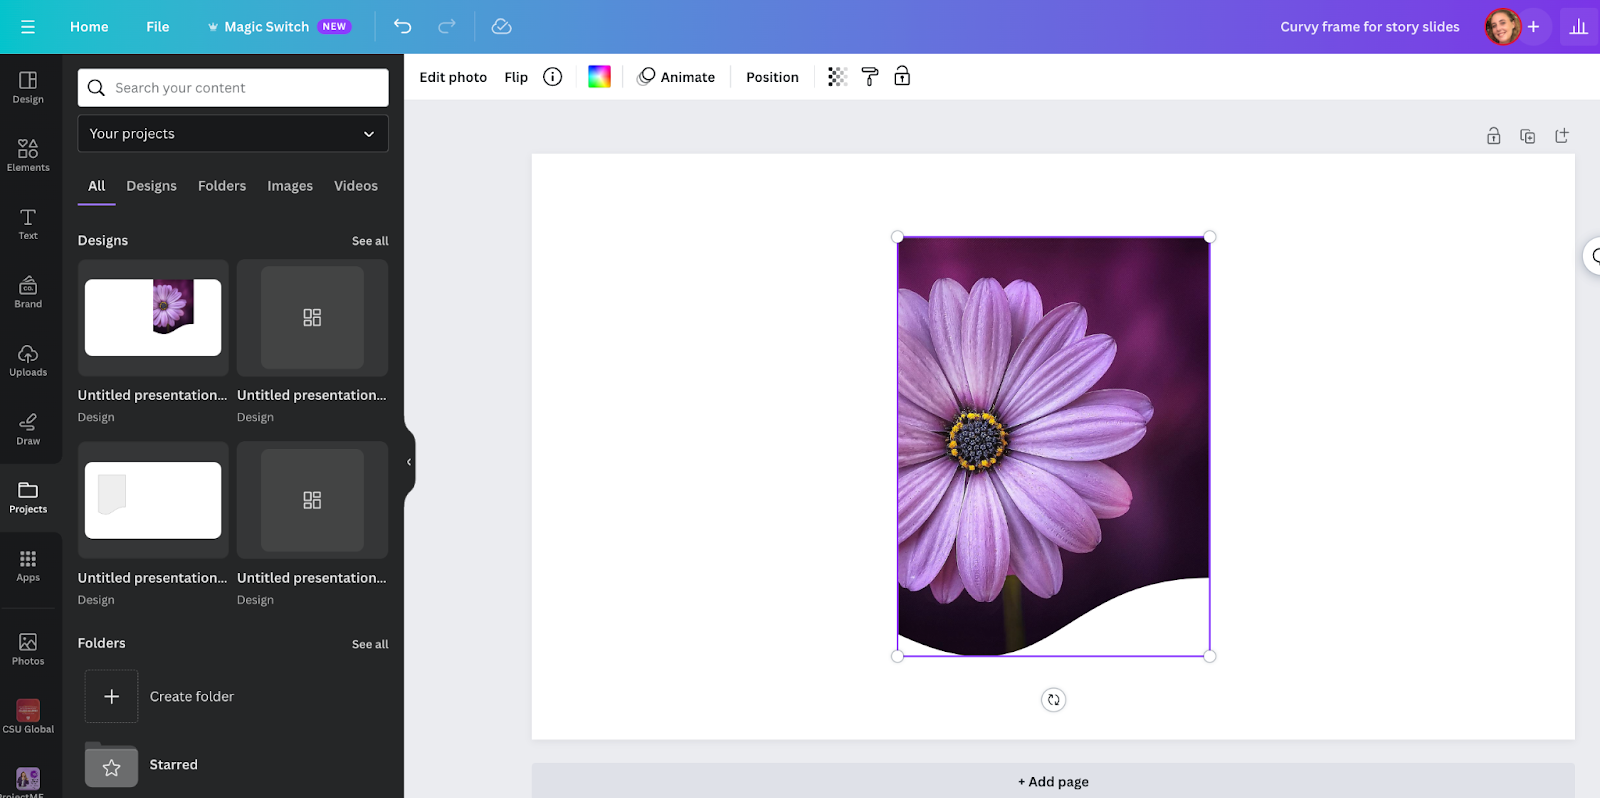
Step 1: Choose a random photo
Open up a blank Google Slides template and add in a photo. It doesn’t matter what it is.

step 2: Crop it into the shape you want
Find the shape that is closest to what you want. Remember, you can play with the dimensions, so there are more options than it seems. But unfortunately you are limited to what’s preloaded in Google Slides.

step 3: Consider dimensions
Use the rulers to approximate a shape that is perfectly symmetrical, or a certain ratio to work for your needs. You can also just freestyle it ;)

step 3: Download it as a PDF
And drop it into a Canva document.
step 5: DELETE THE PHOTO
Select the shape, hit backspace, and voila! You have a custom frame you can fill with any photo you like!

Did this just make your life 10x easier? We’d love to hear about it!

Julia Sames
Julia is a Content Creator for AMR. Julia has always loved reading, cooking extravagant meals, and essentially all activities that take place on or near the water. But now that she lives in Boulder you can add hiking uphill to that list, too.